Shipping Artwork: Trial and Tribulation
As a ceramic sculptor, I
frequently have to package and ship my artwork to galleries. When preparing my
work to ship, I envision the scene from Ace Ventura Pet Detective when Jim
Carrey is acting as a postal delivery man playing football with the package. Ace
hikes it up to the quarterback, finds a player down field and launches the
football toward the receiver. In my case, instead of using a football, picture
a box with a fragile sticker on the side containing precious cargo - my
artwork. This is what shipping your artwork feels like.
This brings me to my
most recent interaction with the United Postal Service. I was accepted to
exhibit a sculpture at the Wayne Arts Center in PA. Juried into the show by the
Renwick Gallery curator Nora Atkinson, I was thrilled to be accepted!
I take great care in
shipping my work. For my abstract ceramic sculpture:
- Make sure to take portfolio
quality images for your documentation and records in case the artwork was
sold at the gallery or damaged during shipping
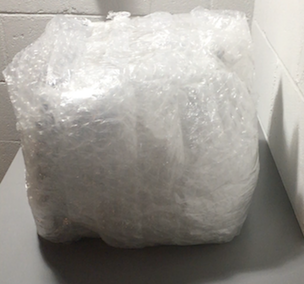
- Use high quality packaging
materials the first step in packaging fragile sculpture is to wrap the X,
Y and Z axis with bubble wrap at a minimum thickness of two inches.
I use stretch wrap instead of packing tape to secure the bubble wrap. If
you use tape, two things will happen: first, folks unpacking will need to
use a knife or scissors to cut through the tape and could cause harm to
themselves or the sculpture. Second, they will have to cut through the
bubble wrap which could make it a one-time use material. Let's face it, we
have enough plastics in the world already and if we can reuse some
materials, let’s do it! (if the bubbles are deflated, you should use new
bubble wrap)
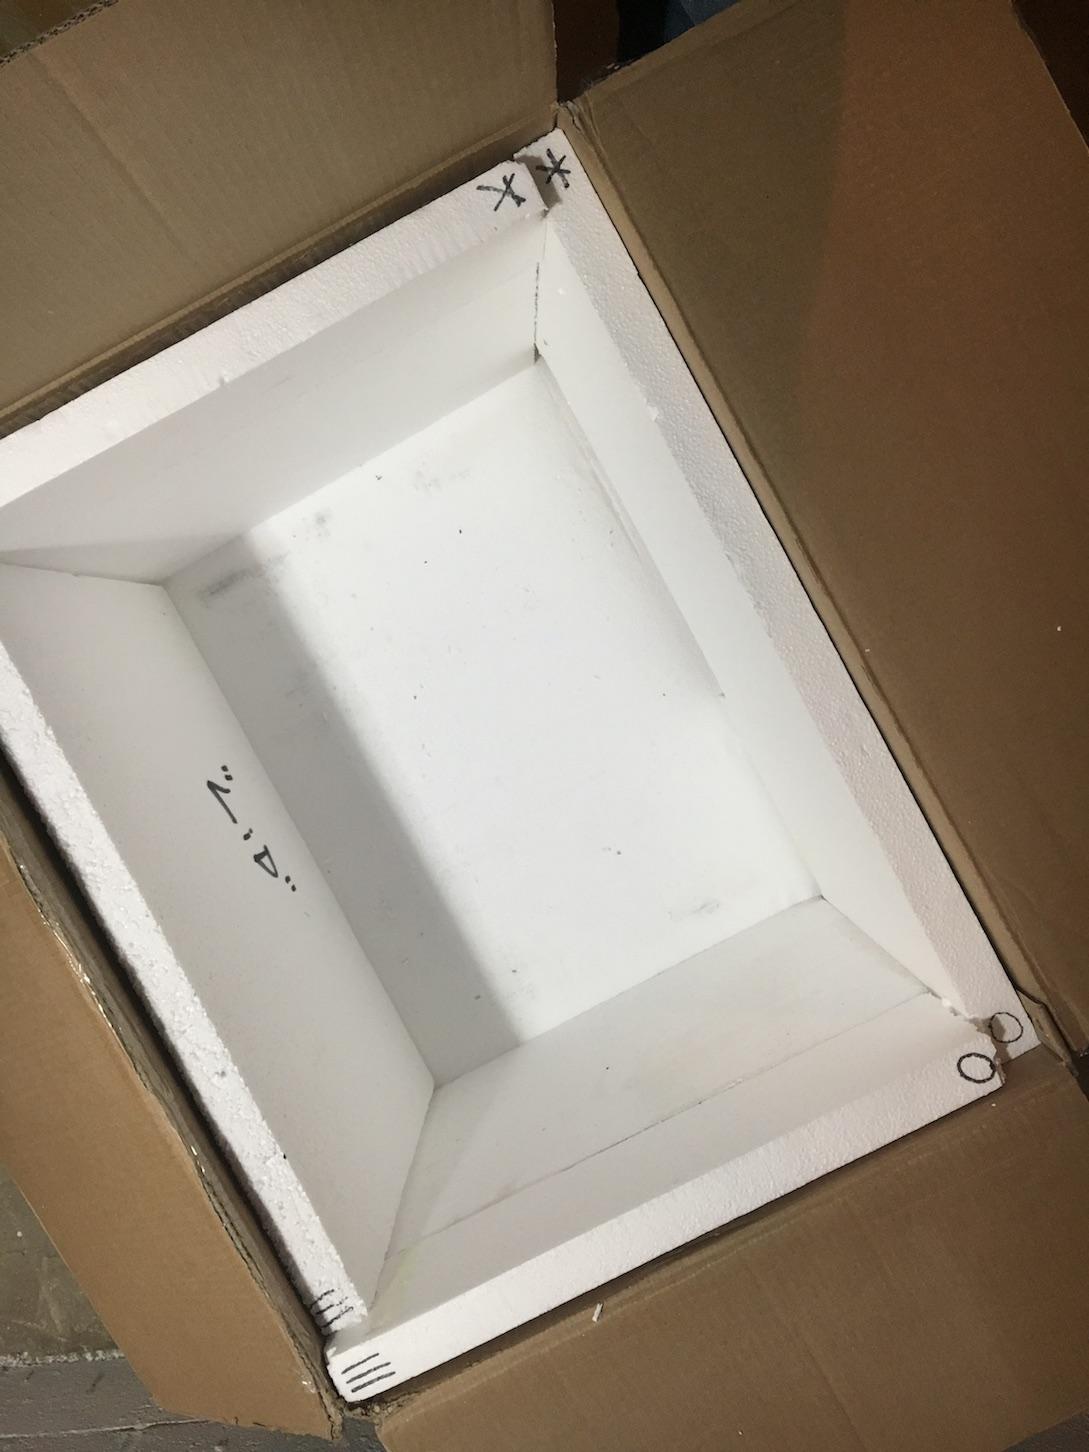
- I put a layer of loose fill packing
peanuts in the bottom of the first box to a thickness of 2”-4” and lay the
bubble wrapped sculpture on top. At this point, I fill all the remaining
voids of the box with loose fill peanuts. When closing the box, be sure to
add enough peanuts so that it is under compression, ie; the flaps would
pop up if there was no tape. For this particular sculpture, I used 2” foam
board to create a buffer between the interior and exterior boxes.
**This process that I’ve explained needs to be methodically documented and detailed with instructions for the preparatory staff of the exhibition so they know how to professionally package your sculpture for return shipment.**
- To insure or not to insure:
When shipping fragile artwork, it is vital that you pay for the UPS or
carrier’s insurance policy. Here are a few things to consider when
paying for insurance:
- Have you sold the artwork you
are sending to the gallery in the past? If so, the insurance value is
usually 40% off of retail. (If you have not sold, you will have a
difficult time getting your asking price because they request a sales
record of past artworks and might only want to pay you material costs.)
So, if the sculpture is $1000 retail then the insurance value would be
$600.
- Be sure to calculate the cost
of art materials, cost of packaging materials, value of your time, cost of
show application and cost of shipping. If you do not charge enough in some
of these areas, you are giving away your artwork and time for free!
Using the package
methods described above, my sculpture arrived to the exhibition without
incident. It was on display for the duration of the show without incident.
While I was unable to attend the event in person, there is a very nice archived
brochure of the show: http://www.wayneart.org/exhibitions/craft-forms-2017/ Afterwards, the preparatory staff repackaged
the sculpture, as per my step-by-step instructions and handed it back over to
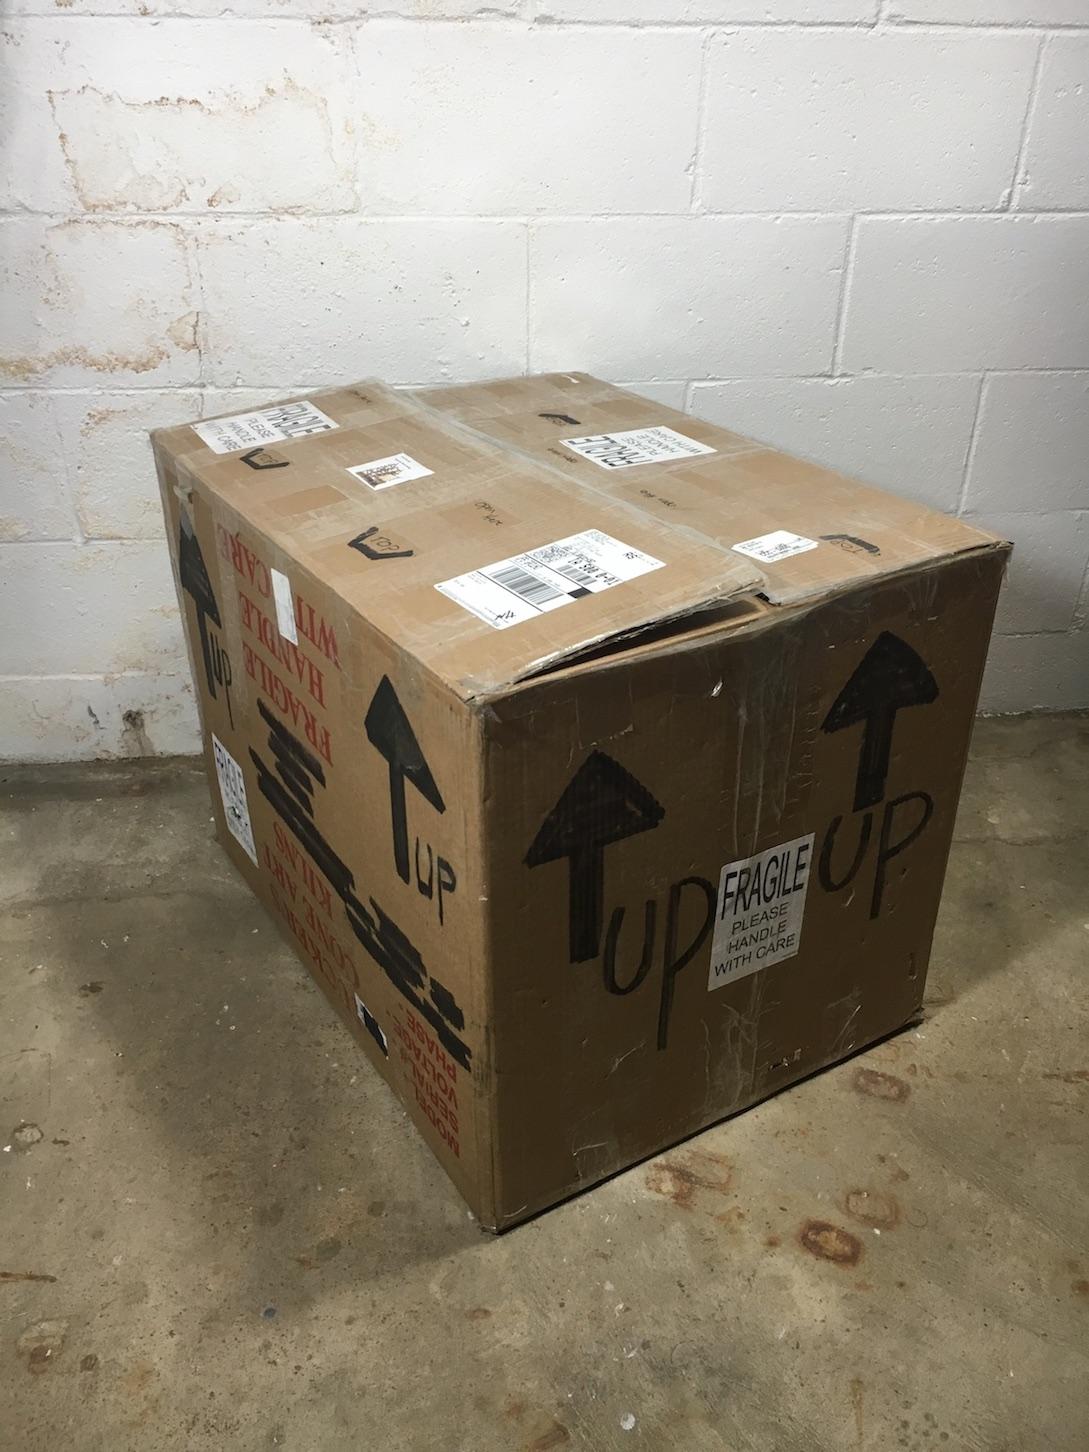
UPS. One small, but extremely pertinent step that the staff member altered
during the repackaging procedure, was the addition of “fragile” stickers all
over the exterior of the package. The innocent gesture is really telling the
UPS employee, “I am packaged extremely well, you can throw me down a flight of stairs,
or stack lots of heavy things on top of me”.
As I awaited the return of
my sculpture, low and behold, it came back to me in a collection of broken
pieces. Being less than amused, I immediately began to file an insurance claim
with UPS.
Here’s what you need to
do to file a claim if your artwork was damaged during shipping to fulfill the
following requirement:
“In order to adequately assess the damage and
provide a timely resolution, provide photographs of the packaging material and
the damaged item(s). Please provide digital pictures of the following:
- A photo of the damaged item.
- A photo showing the damaged
merchandise, inside the original box, with all of the original
cushioning (picture should show the placement of the merchandise and
packaging inside the box).
- A photo of the packaging material used
inside the box (e.g. bubble wrap, Styrofoam peanuts, cardboard dividers,
etc.).
- A close-up photo of the shipping label
with tracking number (please zoom in enough to read the tracking number
which usually begins with 1Z).
- A close-up photo of the box
manufacturer’s certificate (BMC), if available. The BMC is a round stamp
that details either the bursting strength of the box or the edge crush
rating of the box. The BMC is generally found on a bottom flap on the
outside of a corrugated cardboard box.
- Two photos displaying all 6 sides of
the package (1 photo should display the top and 2 sides, the 2nd photo should display the bottom and the opposite
sides).
- Dimensions of the box including the
package height, length, and width provided in the body of the email.”
Around 3 weeks elapsed
before UPS notified me my claim was denied.
I went to the UPS store
manager and physically showed her my professional packaging procedure and how
this is NOT OKAY! We reopened the case and appealed the initial denial. 3 weeks
pass again, and the appeal was accepted! WHOOHOO, with shades of gray. Yes, I
was paid my insurance asking price ($1000). Yes, I fought the system and won.
But… what a hassle! There should have been zero question that UPS was at fault
after the initial claim was made, which is why I purchased the insurance in the
first place. Especially after taking photographs of the packaging materials and
seeing how over-kill I packaged the piece.
UPS denied my claim the
first time because they did not package it. They have a package and ship
guarantee, if they package the product and it arrives broken, they are 100%
responsible. The main reason I had to fight is because they gallery was who
return packaged it. Even though they probably repackaged it correctly,
(following my step-by-step instructions) there is no guarantee they
packaged it to the same standards I packaged it initially.
This is an important
point - since UPS paid your claim, they own your artwork.
UPS now owns my
packaging materials and broken sculpture It stinks because even though they
were damaged, I could have used the box again, and reappropriated my sculpture
into another sculpture… oh well.
If you have to ship
something fragile, consider having UPS package the piece. They are 100% to
blame if the piece breaks during shipping and you do not have to file an
extensive claim.
Before shipping my artwork, I made sure to take portfolio quality images for my records in case the artwork was sold at the gallery or damaged during shipping.
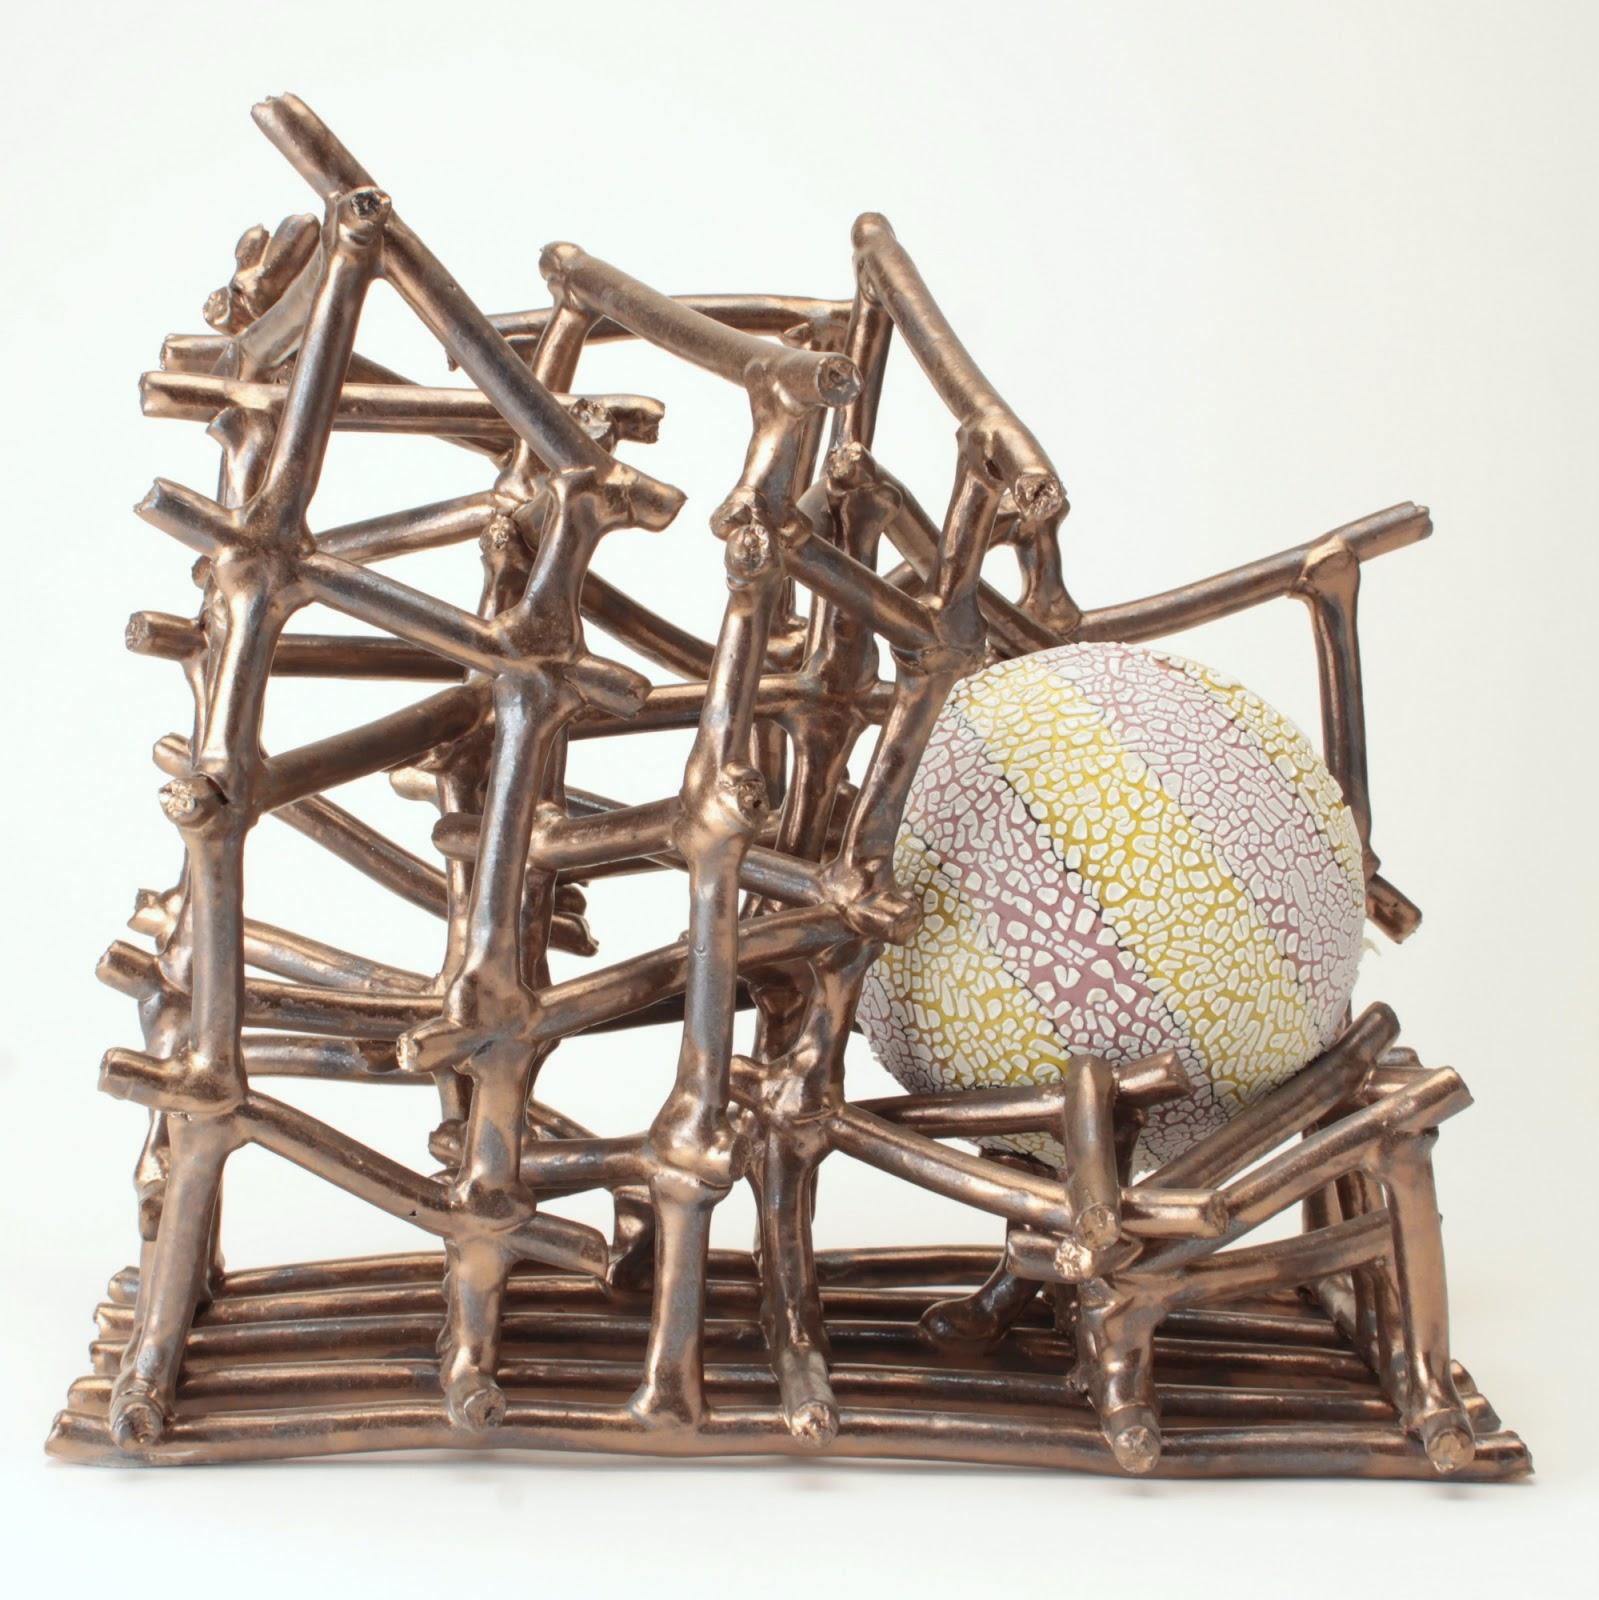
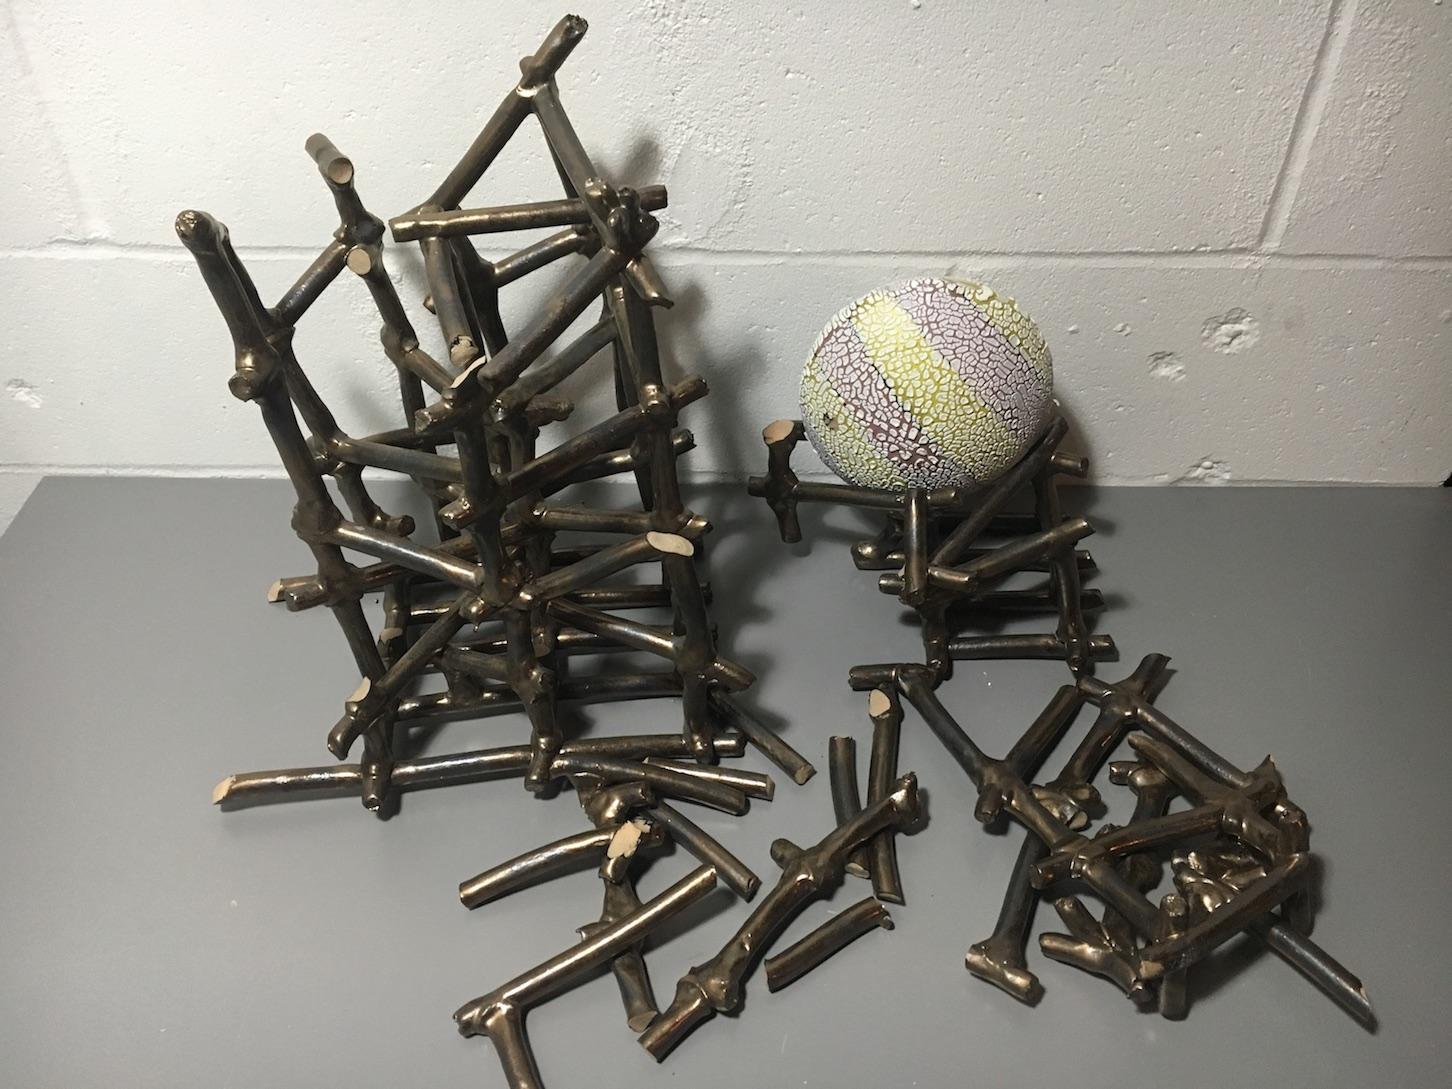
Here is what the sculpture looks like after return shipping.
Be mindful of the contract you sign with the gallery if they take responsibility for return shipping insurance and fees.
Step 1:
Wrap X, Y and Z axis with a minimum of 2-6 inches of bubble wrap each.
Step 2:
Pad box with foam board and lay 2-6 inches loose fill peanuts around all directions of bubble wrapped sculpture.

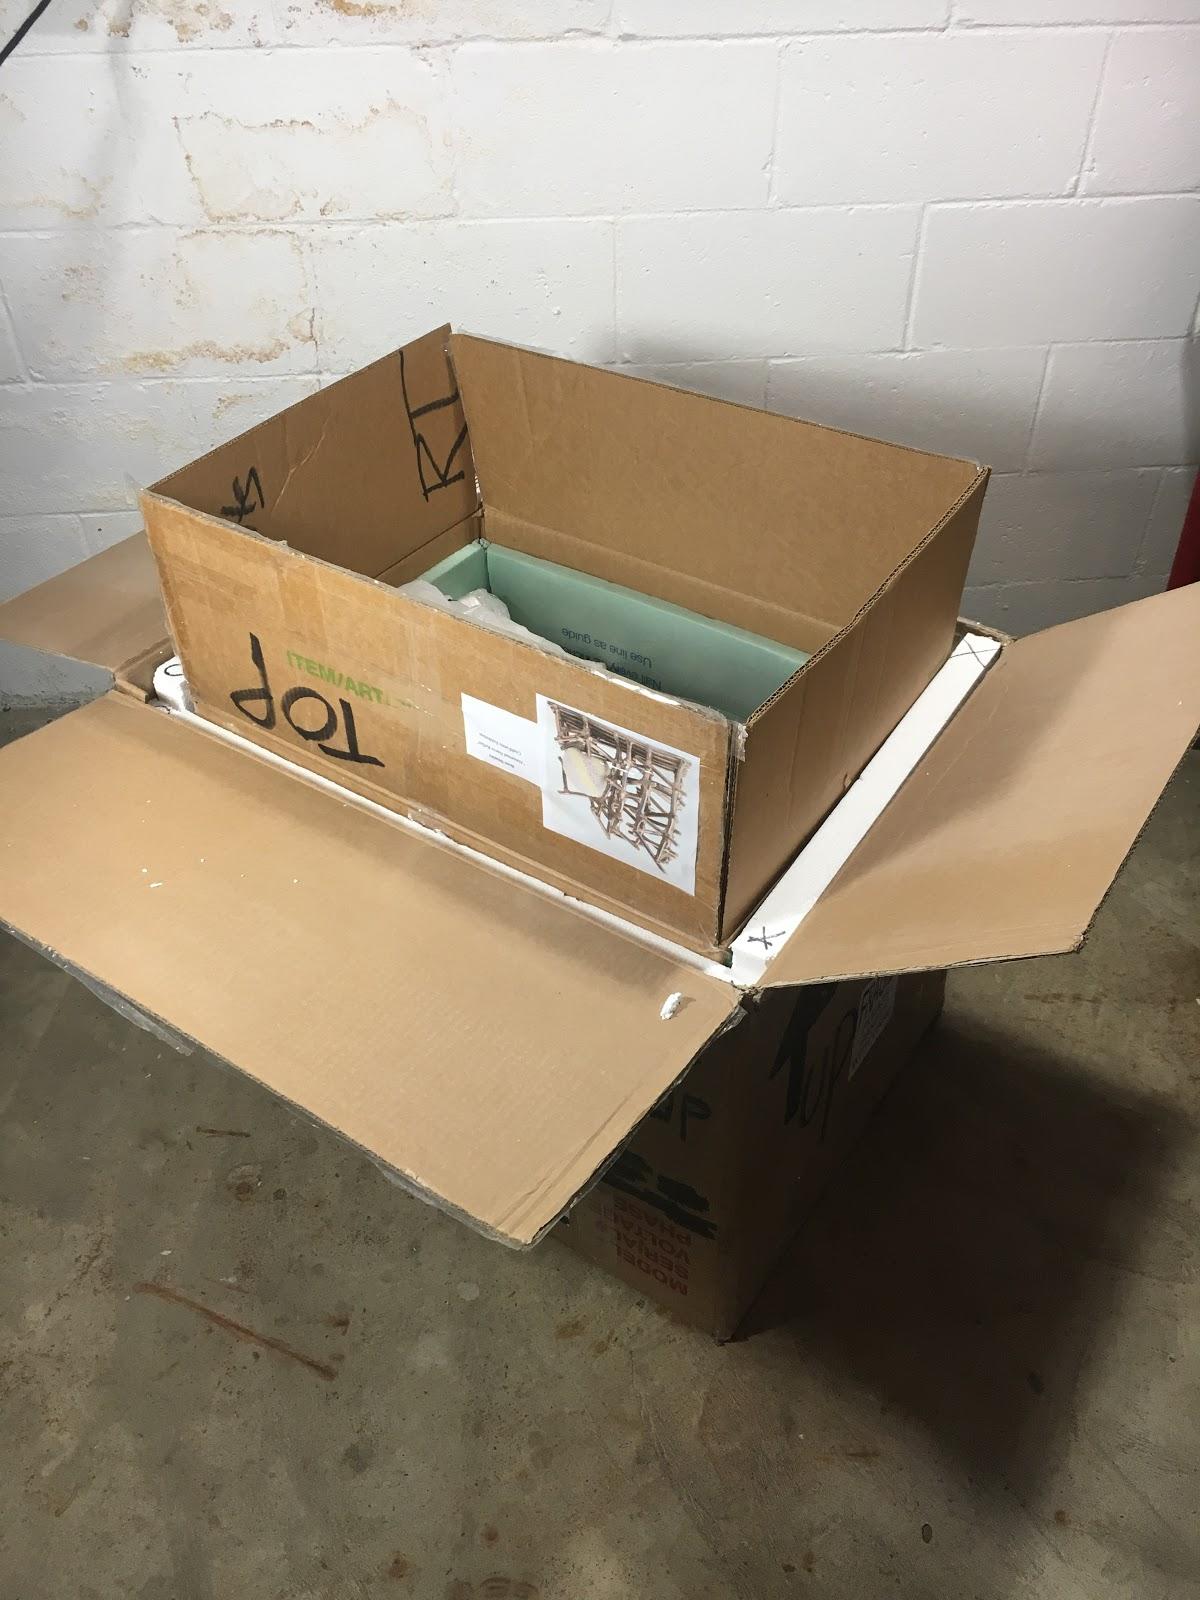
Step 3:
Pad exterior box with foam board and insert interior box.
Step 4:
Insert inner box and finish compression filling with loose fill peanuts.
Step 5:
DO NOT PUT FRAGILE STICKERS ON YOUR BOX!


Your packing is awesome. the only thing I would add is that whenever I ship I put "Idiot proof" unpacking and re-packing instructions sheet clearly visable immediatly after they open the inner box. I do it written out step by step with pictures that I take while packing. Too often I have experienced work coming back broken. It still does, but less with the instructions. Often the person at the gallery that unpacks the work is not the same person packing it up. Also, some shows use volunteers to re-package work and they don't have a clue as to what they are doing.
ReplyDeleteThanks for all the good info. See ya in China!
Hi Amber! I couldn't agree more, gotta have the idiot proof step-by-step guide on how to unpack and repack the work! I must have missed putting that information in this blog post... Great meeting you in China, what an incredible experience!!
Delete